Ensuring Laboratory Safety and Equipment Longevity
Laboratory centrifuges generate massive kinetic energy during high-speed operation. At rotational speeds exceeding 10,000 RPM, an improperly balanced rotor or a compromised metal bucket can exert multi-ton gravitational forces, risking severe mechanical breakdown, laboratory contamination, and workplace injury.
For Environmental Health and Safety (EHS) officers, laboratory managers, and biomedical engineering technicians, implementing rigorous balancing protocols, preventive maintenance schedules, and regulatory compliance standards is critical to protecting laboratory personnel and ensuring uninterrupted operational uptime.
+-----------------------------------------------------------------------------------+
|                  CENTRIFUGE SAFETY & MAINTENANCE WORKFLOW                         |
+-----------------------------------------------------------------------------------+
|  1. Pre-Run Inspection     | Inspect rotor cavity, O-rings, & bucket pins         |
|  2. Load Balancing         | Weight-match opposing vessels within strict limits   |
|  3. Biocontainment Lock    | Secure aerosol-tight lids for infectious biohazards  |
|  4. Post-Run Cleaning      | Wipe down chamber, dry rotor, & re-lubricate pins    |
+-----------------------------------------------------------------------------------+
1. Dynamic Load Balancing Protocols & Preventing Asymmetric Loads
Asymmetric loading is the leading cause of drive shaft wear, excessive vibration, and catastrophic centrifuge failure.
Symmetrical Weight Distribution Rules
-
Opposing Vessel Positioning: Tubes must be placed directly opposite each other across the central axis of rotation. Never run a rotor with a single tube or an odd-numbered, asymmetrical arrangement.
-
Mass & Density Matching: Balancing requires matching both liquid volume and sample mass. Equal volumes of liquids with different densities (e.g., water vs. heavy saline solutions) will create a mass imbalance during rotation. Opposing tubes should be weighed on a precision balance to within 0.1 gram for high-speed applications.
-
Matching Tube Form Factors: Always use identical tube types, cap styles, and bucket adapters in opposing positions.
                      SYMMETRICAL ROTOR LOADING PATTERNS
                                       |
       +-------------------------------+-------------------------------+
       |                                                               |
Correct Balanced Loading (4 Tubes)              Incorrect Unbalanced Loading (3 Tubes)
- Opposite positions filled                     - Asymmetrical mass distribution
- Identical weight & density                    - Causes shaft flex & vibration trip
  [O] . . [O]                                     [O] . . [O]
   .  X  .                                         .  X  .
  [O] . . [O]                                     [O] . . [ ]
Electronic Imbalance Detection Systems
Modern centrifuges incorporate electronic imbalance sensors (optical or piezoelectric acceleration transducers). If an uneven load generates excessive axis oscillation, the sensor immediately cuts motor power and applies controlled braking to prevent mechanical damage.
2. Rotor Maintenance, Corrosion Control & Metal Fatigue
Centrifuge rotors are subjected to intense cyclical mechanical stress and potential chemical corrosion, both of which shorten their safe operational lifespan.
Causes of Rotor Degradation
-
Chemical Pitting: Residual salts, acids, bases, or harsh disinfectants (such as un-buffered sodium hypochlorite bleach) attack protective anodized coatings on aluminum rotors, initiating microscopic pits.
-
Stress Corrosion Cracking: Pitting creates localized stress points. Under repeated centrifugal acceleration, these pits expand into invisible micro-cracks that can cause sudden structural failure.
-
Cycle Fatigue: Every acceleration and deceleration cycle stresses the rotor metal. Rotors have a finite operational lifespan dictated by total run cycles or maximum calendar years.
Cleaning & Decontamination Standards
-
Rinse & Neutralize: After each shift, remove the rotor, rinse thoroughly with warm water and mild neutral pH detergent (pH 6 to 8), and dry completely with a lint-free cloth.
-
Autoclaving Precautions: Verify that the rotor and lid materials are rated for standard autoclaving. Remove all rubber O-rings before autoclaving to prevent heat hardening and cracking.
-
Pin Lubrication: For swinging-bucket rotors, regularly apply a thin film of manufacturer-approved non-corrosive grease to the bucket pivot pins to ensure smooth swinging motion.
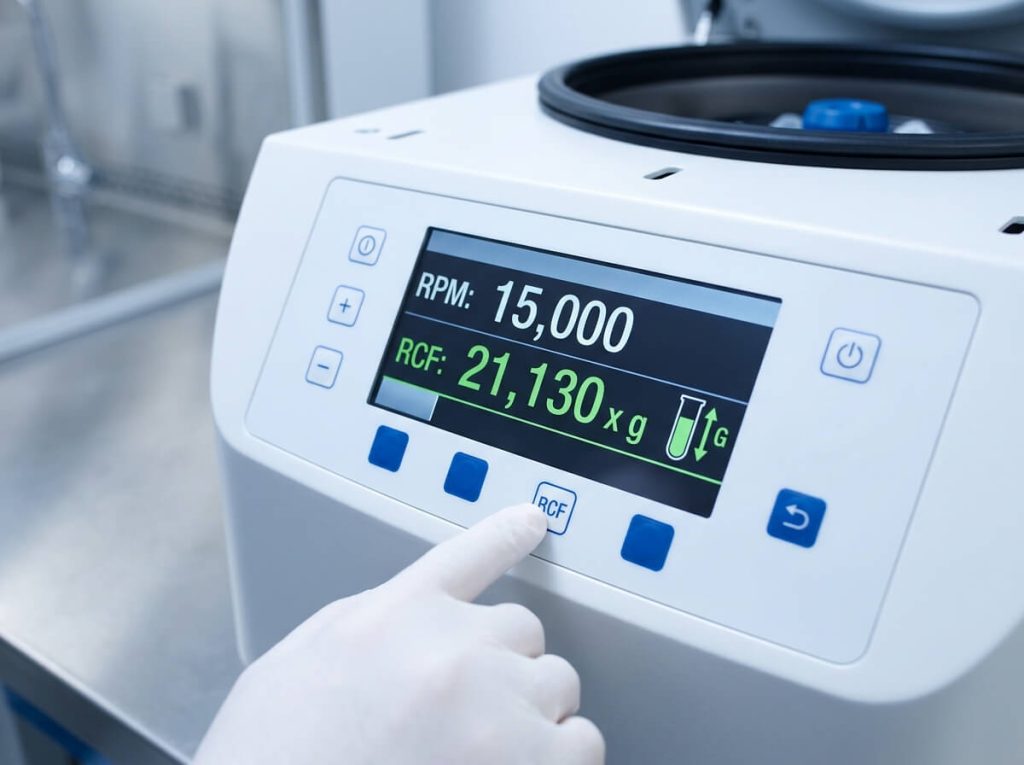
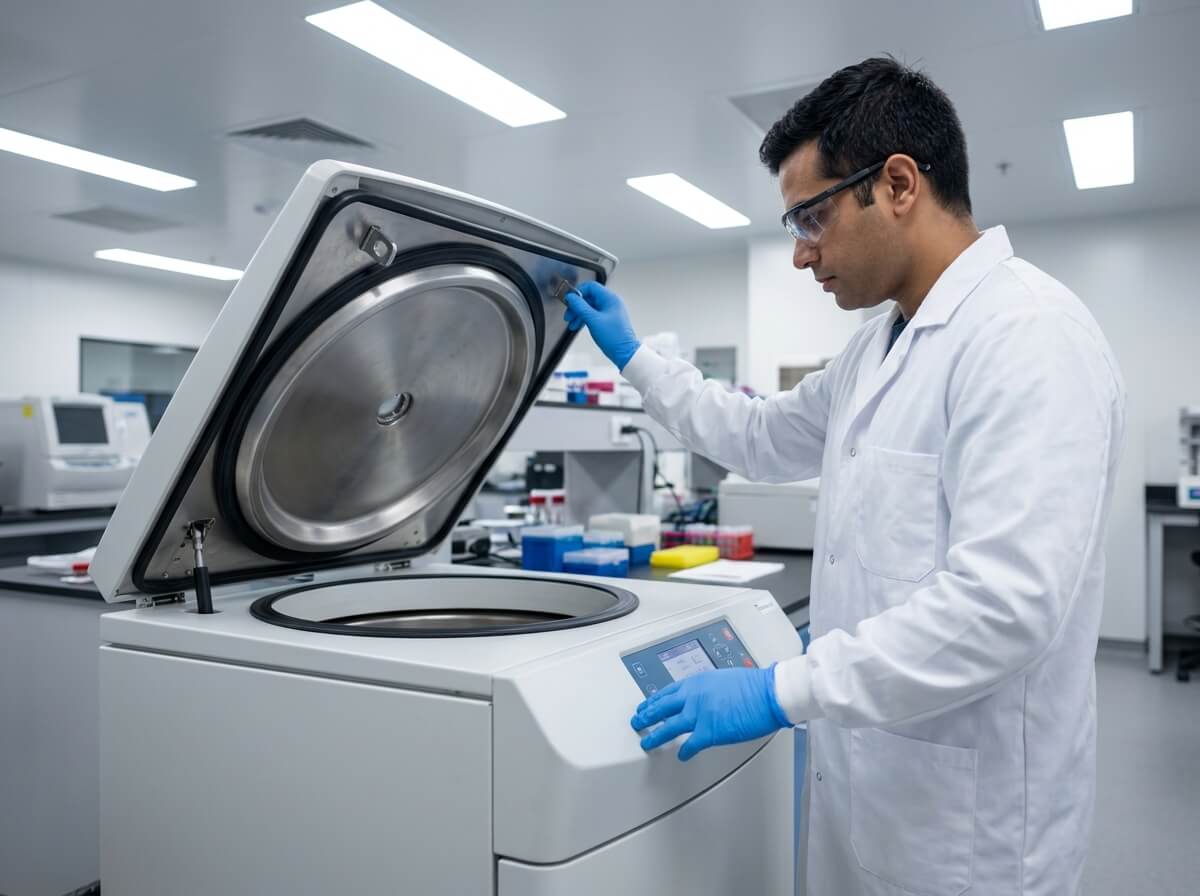
Close-up of centrifuge digital interface displaying 15,000 RPM speed and relative centrifugal force (RCF) settings.
3. Aerosol Biocontainment & Biohazard Protection
Centrifugation of biological samples (whole blood, viral vectors, bacterial cultures) can generate microscopic biohazardous aerosols if a tube leaks or fractures at high speed.
                      AEROSOL BIOCONTAINMENT ARCHITECTURE
                                       |
       +-------------------------------+-------------------------------+
       |                                                               |
Standard Non-Sealed Rotor                       Aerosol-Tight Biocontainment Lid
- Tube failure releases aerosols into room      - Dual elastomeric O-ring compression seals
- Poses inhalation risk to lab staff            - Retains broken fluid & vapors inside lid
- Requires whole-room decontamination           - Can be safely moved to Biosafety Cabinet
-
Certified Aerosol-Tight Lids: Use rotors fitted with aerosol-tight containment covers featuring dual elastomeric O-rings. Ensure lids carry third-party safety certification (such as TÜV or CAMR testing under EN 61010-2-020).
-
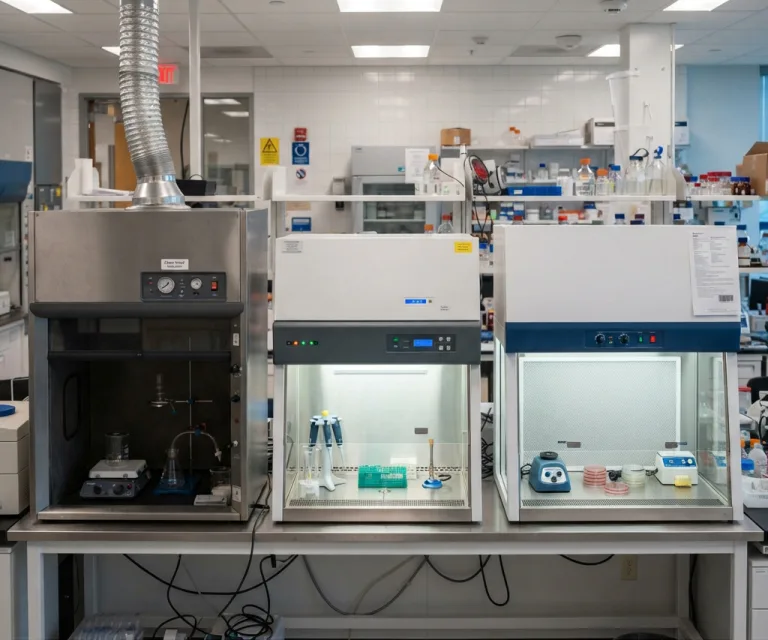
Safe Handling Protocols: If a tube breaks inside a sealed biocontainment rotor, do not open the lid on the open bench. Transport the entire sealed rotor directly into a certified Class II Biosafety Cabinet (BSC) before opening and decontaminating.
4. Regulatory Compliance & International Safety Standards
Compliance with international safety frameworks ensures equipment meets electrical, mechanical, and operational safety baselines.
-
IEC 61010-1: Primary safety standard governing general electrical and mechanical safety for laboratory measurement and control equipment.
-
IEC 61010-2-020: Specialized safety standard regulating laboratory centrifuges. Mandates automatic lid-locking interlocks (preventing lid opening while the rotor is spinning), structural armor casing to contain high-energy rotor disruptions, and thermal overload protection.
-
Annual Service & Tachometer Calibration: Biomedical technicians must perform annual speed verification using an optical laser tachometer to ensure displayed RPM matches true rotor speed within ± 1%.
5. Maintenance, Inspection & Safety Matrix
| Maintenance Task | Frequency | Responsible Party | Operational Action / Target | Risk of Failure / Neglect |
| Symmetrical Load Check | Every Run | Lab Operator | Balance opposing tubes within 0.1 g | Imbalance trip, motor spindle wear |
| Visual Rotor Inspection | Weekly | Lab Operator | Check for deep scratches, cracks, pitting | Sudden catastrophic rotor burst |
| Chamber Wipe Down | Daily | Lab Operator | Clean with neutral cleaner; dry fully | Chemical corrosion of drive chamber |
| Bucket Pin Greasing | Monthly | Biomed / Tech | Apply approved lubricant to pivot pins | Restricted bucket swing, flat pellet loss |
| O-Ring Lubrication | Monthly | Biomed / Tech | Apply thin silicone grease to bio-seals | Loss of aerosol-tight seal integrity |
| Tachometer Calibration | Annually | Service Engineer | Verify RPM accuracy using optical laser | Protocol failure, diagnostic error |
| Lid Interlock Audit | Semi-Annually | EHS / Biomed Tech | Verify motor cut-off upon emergency stop | Physical operator injury risk |
6. Strategic Checklist for EHS & Biomedical Technicians
Incorporate these mandatory checks into your facility’s EHS audit plan:
-
Maintain Rotor Logbooks: Track total run hours and cycle counts for high-speed and ultracentrifuge rotors to ensure retirement before reaching manufacturer fatigue limits.
-
Standardize Decontamination Procedures: Post clear protocols near every centrifuge outlining steps for handling tube ruptures and biohazard spills.
-
Verify Lid Interlock Functionality: Regularly test that the lid lock remains firmly engaged until the rotor comes to a complete standstill.
-
Inspect Accessories: Periodically discard cracked plastic tube buckets, worn rubber adapters, and hardened O-rings.
7. Frequently Asked Questions (FAQ)
Q1: What should I do if a sample tube ruptures inside the centrifuge during a high-speed run?
Turn off the unit immediately and leave the lid closed for at least 30 minutes to allow generated aerosols to settle. If using an aerosol-tight rotor, transfer the entire sealed assembly into a Biosafety Cabinet, open the lid, discard broken glass/plastic into biohazard waste, and clean the rotor with a non-corrosive disinfectant (such as 70% isopropanol).
Q2: How long can a laboratory centrifuge rotor be used before it must be retired?
Rotor lifespan depends on material, speed, and usage cycles. Heavy-duty aluminum and carbon fiber rotors typically carry a rated lifespan of 7 to 10 years or a specific cycle limit (e.g., 10,000 to 50,000 full runs). Always log cycles and replace rotors that show surface pitting or deep scratches.
Q3: Can I balance a sample tube using plain tap water in the opposing bucket?
Tap water is acceptable for low-speed applications if sample fluid density is close to 1.0 g/mL. However, if spinning dense solutions (such as sucrose gradients, cesium chloride, or blood reagents), use a balance tube filled with a fluid of matching density to prevent mass imbalances at high speeds.